
If your tiny pantry is bursting at the seams, it’s time to get organized with some clever storage hacks.
Implementing a few simple pantry organization hacks can help you maximize every inch of vertical and horizontal space.
By taking the time to categorize ingredients, install specialized storage solutions, and maximize every inch of vertical and horizontal space, your petite pantry can become a highly efficient storage zone.
If you’re looking for ways to optimize your pint-sized food cubby, read on for 13 creative pantry organization hacks that will help streamline even the smallest space.
With a bit of effort, those pesky pantry organization woes will be a thing of the past and you’ll rediscover forgotten ingredients in spaces you never realized could accommodate food storage when leveraging crafty organizing hacks.
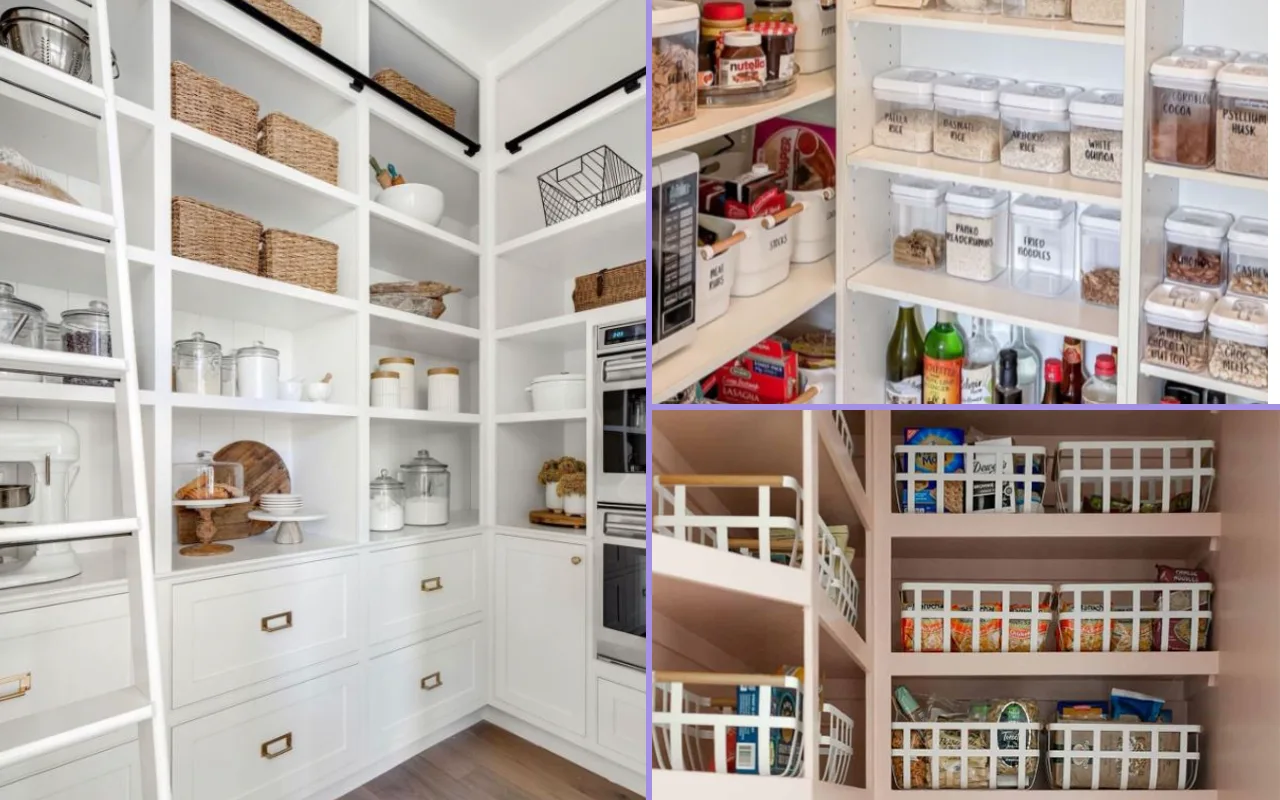
13 Clever Pantry Organization Hacks for Maximizing Tiny Spaces
1. Take Everything Out and Sort
First things first – it’s time to empty this puppy out! As you remove each item, make sure to check expiration dates. Toss anything that’s passed its prime into the trash. Got some random cans of beans or spare pasta lurking in the back? Donate extras so they don’t take up precious real estate. Next, sort what’s left into categories. Place all snacks together, baking supplies over here, canned goods there. Stand back and admire your handiwork! Now it’s easy to see exactly what you’ve got.
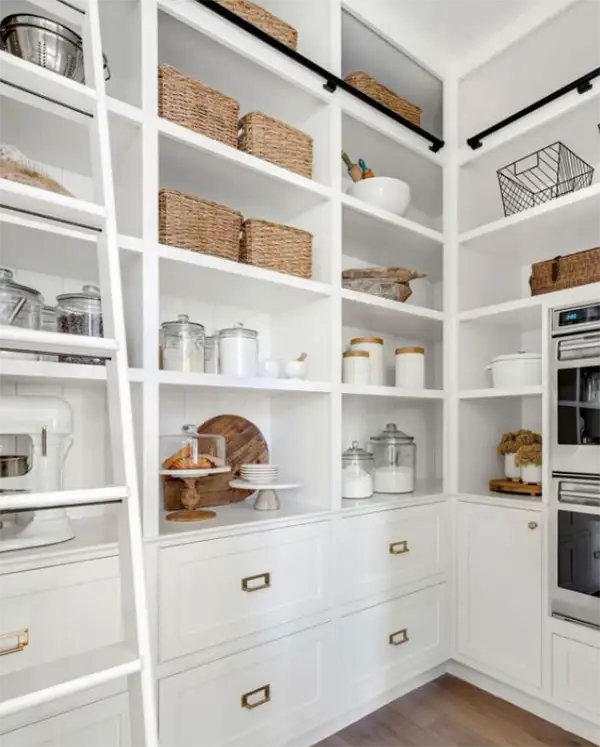
2. Install Organizers
Gone are the days of haphazard shelves and tippy bottles. Let’s get optimized! Grab some storage containers and matching bins so similar items have a dedicated home. Make sure to use clear ones so you can see everything at a quick glance. Bring order to chaos by neatly lining up ingredients by category. Go ahead and label each bin and shelf so even guests know exactly where to find the peanut butter.
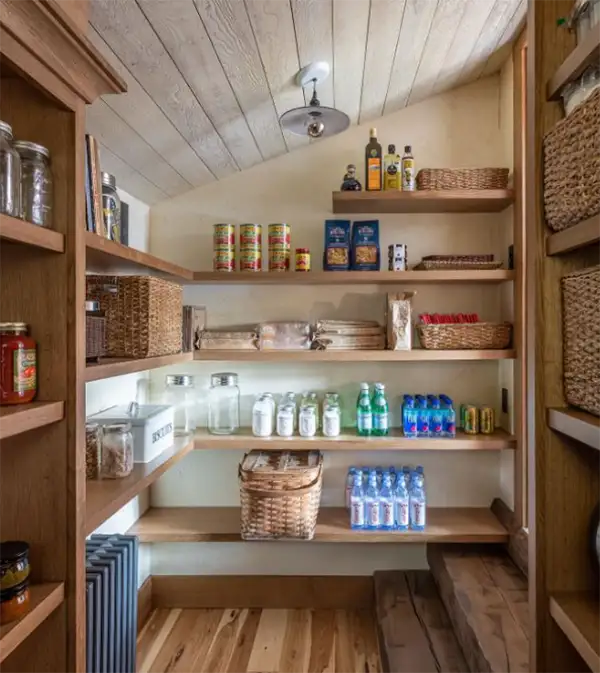
3. Strategic Storage
Now for the fun part – making the most of what little cubic footage you’ve got. Reserve eye-level shelves for everyday necessities like coffee, olive oil, salt and other grab-and-go staples. Stash lesser-used items up high or down low. Add vertical dividers and risers to neatly store taller items like sauces and mixes. Bonus space!
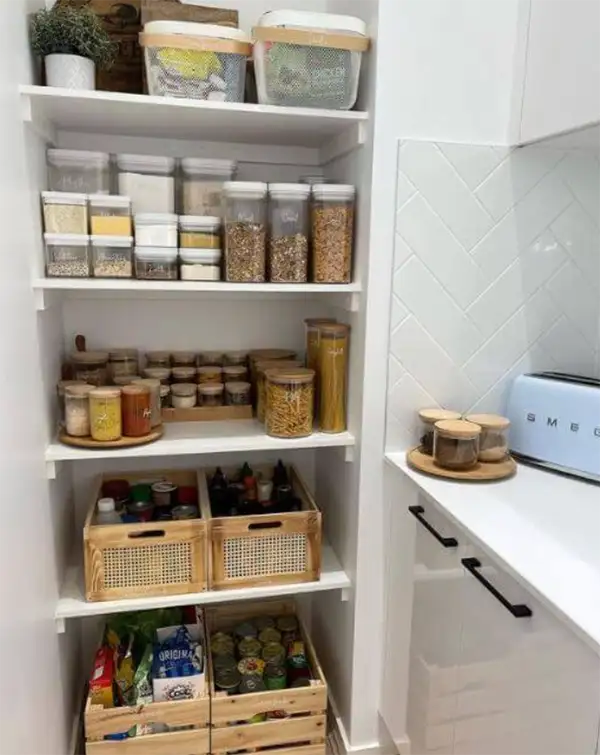
4. Creative Hacks
Get clever with space-saving slides, racks and contraptions designed just for pantries like yours. Install a chrome wire unit on the inside of your door for small jars and bottles. Pull-out racks and slide-out trays make storing – and finding – baking sheets and pans easy as pie when you can’t allocate them their own shelf. Spinning lazy Susans create a tiered, rotating corner storage unit. Take advantage of vertical nooks by storing tall, slim items like baking flours and sugars in divided racks. Who knew you could fit so much in such a petite pantry!
5. Keep It Functional
Cute bins are great, but this pantry makeover is about creating a space you actually want to engage with. Group ingredients that go together, like pasta and sauce, side by side. Designate a shelf for almost-empty jars or packages that need to get used up soon. Leave a bit of breathing room on shelves – too much clutter stresses you out. Every 6 months, do a reset to ensure you have what you need and toss what you don’t before it expires. Stay organized!
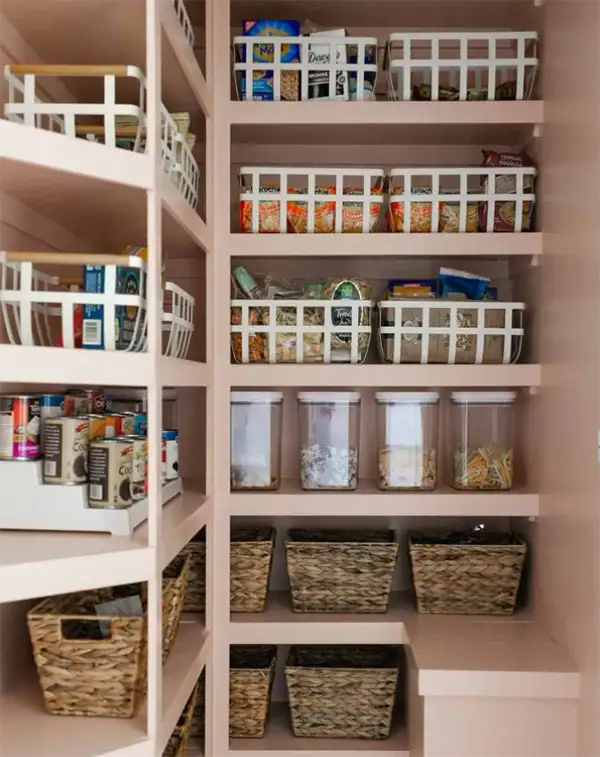
6. Double Up
You survey your stash of canned beans, tomatoes, tuna, and realize empty vertical space is being wasted in between those cylindrical cans. Time to start doubling up! Invest in storage racks that neatly hold two or three same-sized cans in each divided plastic or wire compartment. Not only have you created more storage, but it’s way easier to take stock of what you have at a glance. While you’re at it, pour boxed ingredients like cereal, crackers and baking mixes into matching airtight clear containers so you can see when supplies are dwindling. Squares and rectangles make better use of shelf space than those bulky boxes anyway!
7. Install Door Storage
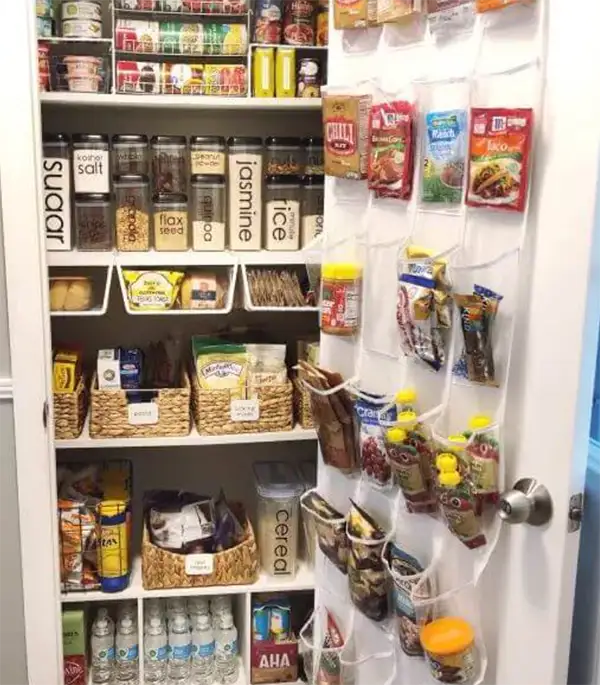
Just because it’s the end of the line doesn’t mean your pantry door should be storage dead space! First, attach small wire shelving or removable storage cubes to neatly corral all those pint-sized condiments and sauces. Below, line the door with mesh pouches for skinny soups and broths or slide cutlery and gadgets into taller racks. Now the inside of your door doubles as prime storage real estate!
Also Read: 29 Small Entryway Shoe Storage Ideas
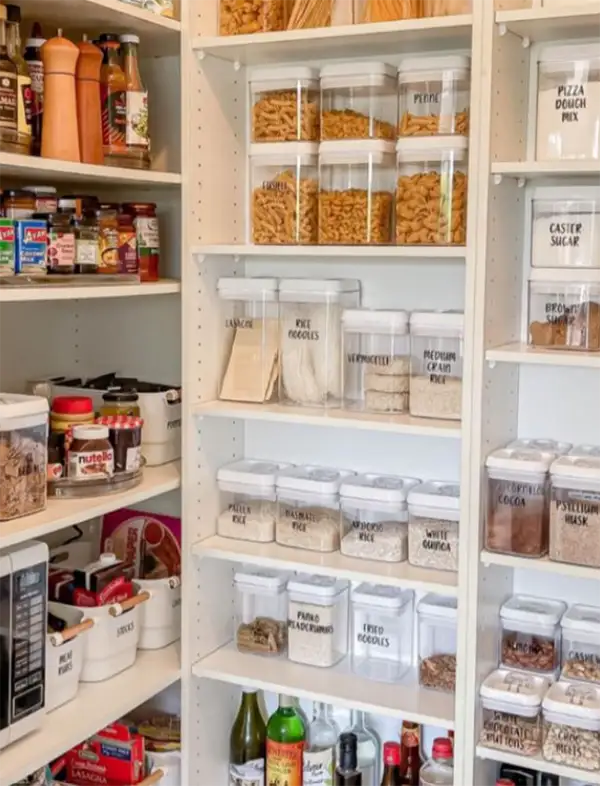
8. Store in Bulk
Costco runs are oh-so tempting for scoring jumbo bags of rice, quinoa and pounds of dried beans for dirt cheap. But all that bulk comes at a price – precious pantry square footage! Solve this by investing in large square or rectangular airtight storage bins. Not only will this keep your goods fresh and pest-free way longer than those shitty paper or plastic sacks, but square containers make better use of shelf space. Label each container so you know what’s what. Keeping ingredients visible means you’ll actually remember to use them!
9. Edit Often
By now your pantry feels clean, organized and so fresh! But let’s keep it real – without maintenance, those shelves will be bursting again in no time. Set a bi-annual reminder to comb through your stash to take stock and edit as needed. Toss expired or unwanted items and move the remaining inventory around to ensure you’re making the most of every inch. Remember to leave a bit of open space between shelves or containers to allow for air circulation. A few easy tweaks mean you avoid chaos creep!
10. Get Gadgety
Just when you thought you’d maximized every inch, it’s time to get clever with space-saving gadgets and gizmos! Start by installing pull-out metal racks that extend all the way out, allowing you to neatly arrange – and easily access – bakeware and bulky appliances that otherwise end up hogging prime real estate. Or try slide-out trays and racks on shelves and in cabinets to neatly store taller items like flour and sugar storage containers.
And don’t forget those pesky spaces between wall studs! Install extra deep, narrow shelving units in these overlooked voids for skinny bottles of oils, vinegar and sauces. Spinning lazy Susan turntables are ideal for corner nooks, creating multi-tiered storage for spices, cans and other petite ingredients.
For quick grab-and-go access to staples like olive oil, salt and pepper, coffee and tea, mount wall-mounted rail systems with handy hooks above prep areas in your kitchen. Bonus – it frees up your actual pantry shelves for less-frequented items! Just try not to go too overboard with new organizing gear – too many overly specialized gadgets can complicate more than streamline.
11. Set Up A “Use Me” Shelf
Be real – at least a few mystery jars, cans, and boxes in your pantry right now are leftovers lingering from some recipe you made ages ago. Don’t let these nearly-forgotten ingredients get pushed back where they’ll eventually expire! Instead, dedicate a clearly marked shelf for foods you need a reminder to use up soon. Position it at eye level for prime visibility. Assign leftovers and soon-to-expire ingredients to this shelf every time you unpack groceries. Make it a point to create meals around these ingredients at least once a week. No more wilted herbs or solidified honey!
12. Leave Some Breathing Room
You stand back and admire your clean, optimized pantry, now neatly organized with categories clearly labeled and smart storage solutions maximizing every inch. It’s beautiful…but kind of crowded. Time to carve out a little breathing room! As organized as all your ingredients may be, an overly cluttered look stresses you out.
Go shelf by shelf and make sure there’s a bit of visible space between bins, containers or ingredient groupings. That negative space allows things to feel airy and relaxed. It also improves air circulation which will extend the shelf life of your food.
While editing, ask yourself if everything on each shelf truly needs to live in this prime real estate. Maybe some lesser-used gadgets and serving pieces could be relocated to a secondary storage zone. Remove one or two items from each shelf and reassess. Ah – much better! Still highly functional, but no longer overflowing. You can breathe easy along with your organized pantry.
13. Reset Every Six Months
You did it – your tiny pantry is now a streamlined, clutter-free storage wonderland! But let’s get real…without maintenance, entropy will have its way. In six months, you just know you’ll have accumulated more specialty ingredients, new kitchen tools will make their way in, and mystery canned goods you bought for one recipe will edge toward expiration.
So do yourself a favor and set a recurring calendar reminder. Every six months, give your pantry shelves a refresh! Toss expired or unwanted items, reorganize containers and bins to maximize space, and hang new storage tools if needed for additional specialized ingredients. Don’t forget to face labels front and edit down overcrowded shelves.
End the reset by donating any unopened and still-good food to your local food bank. And pat yourself on the back for not allowing chaos to once again claim your petite but powerful pantry! Consistent maintenance makes all the difference.
Final Thoughts
Getting organized doesn’t have to be painful, even if you’re working with a tiny pantry.
Start by fully clearing out your space so you have a blank slate for categorizing and installing storage solutions.
Follow these simple tips for maximizing limited square footage through clever yet easy pantry organization hacks that keep chaos at bay!