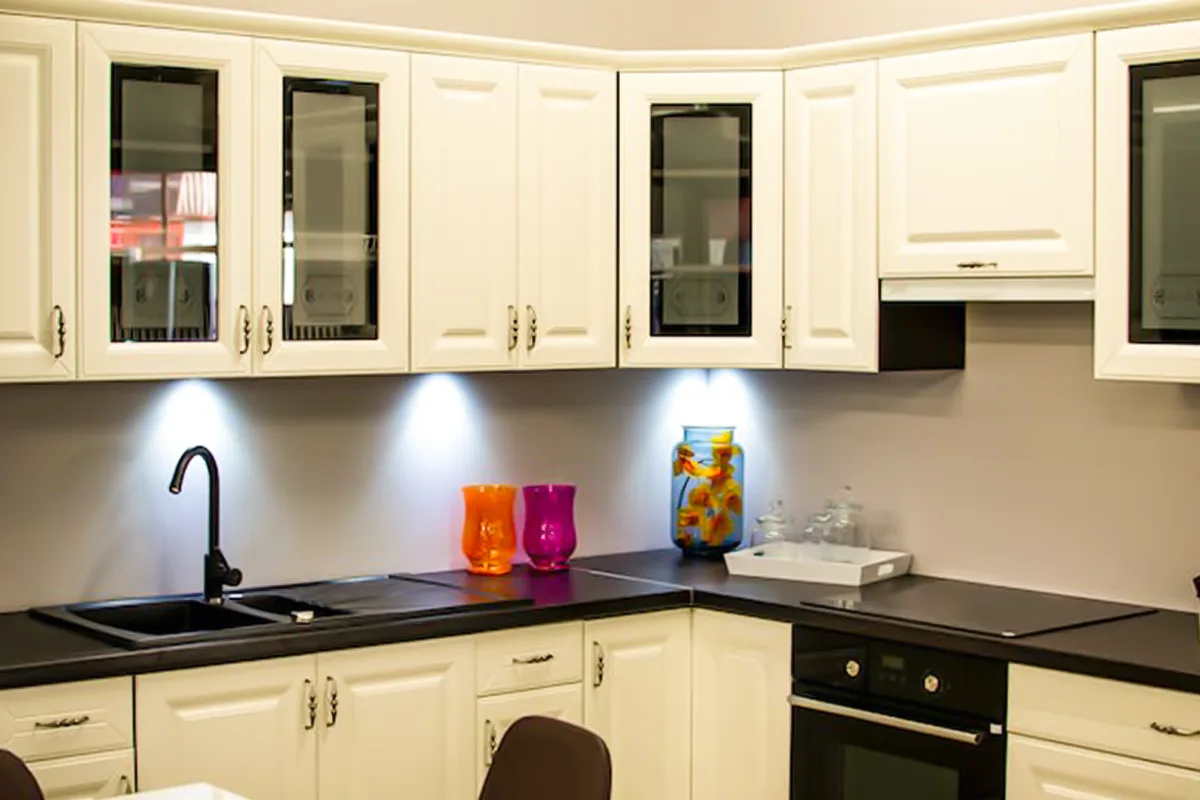
Keeping your kitchen cabinets looking like new doesn’t require expensive cleaners or a lot of elbow grease. With some basic ingredients and tools you likely have on hand, you can easily remove dirt, grease, and grime from your cabinets without damaging the surfaces.
Below are 29 tips and hacks for cleaning all areas of your cabinets safely and effectively. From simple weekly wipe-downs to deep cleaning wood, glass, and hardware, you’ll find natural solutions for freshening up your cabinets and maintaining their beauty. With a little routine care, your kitchen will shine and your cabinets will look their best for years to come.
29 Ways To Clean kitchen cabinets without damaging them
1. Use Mild Dish Soap
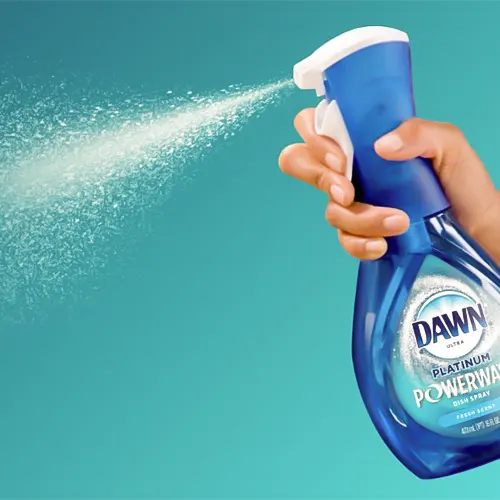
When mixing up a cleaning solution of mild dish soap and warm water, be sure to fully saturate your soft cleaning cloth before wringing it out thoroughly. Excess water can damage cabinet surfaces. Take your time wiping down all exterior and interior cabinet surfaces, rinsing, and re-wetting your clothes as needed. The dish soap will cut through grease and grime without stripping the cabinet finishes.
2. Vinegar and Water Solution
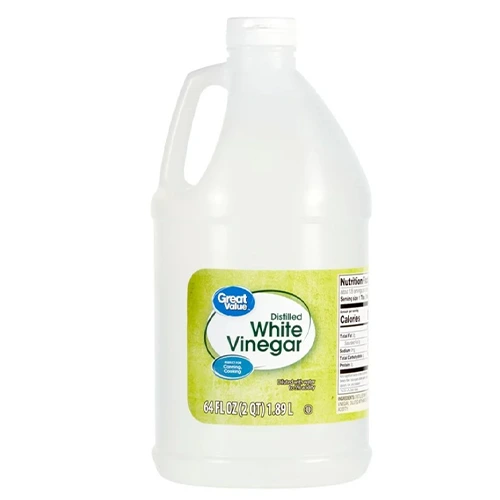
For an all-purpose cleaning solution, combine equal parts white vinegar and warm water. The acidic vinegar helps dissolve dirt, grime, and grease, while the water dilutes it for safe use on most cabinet surfaces. Pour some into a spray bottle for easier application. Spritz the solution directly onto cabinet surfaces and use a soft cleaning cloth to wipe it around, getting into all the nooks and crannies. The white vinegar smell disappears quickly.
3. Baking Soda Paste
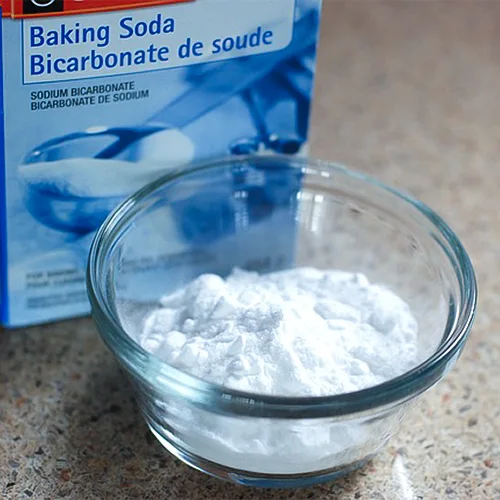
To make a gentle baking soda paste scrub, mix 3 parts baking soda with 1 part water. Adjust the consistency as needed. Generously apply the paste to cabinets using a soft cloth, brush, or sponge. Let it sit briefly to work before scrubbing in circular motions. Baking soda is a mild abrasive that will lift dirt and stains without damaging surfaces when used gently. Rinse cabinets thoroughly with clean water and dry with a soft towel.
4. All-Purpose Cleaner
Before using a general all-purpose cleaner, check that it does not contain harsh acidic ingredients that could damage cabinet finishes. Spray or apply it directly onto cabinets and let it soak for 5-10 minutes. This gives the active cleaning agents time to dissolve grease and lift stains before wiping. Use a well-wrung cloth to scrub and remove the grime. For best results, start with diluted cleaner and increase strength as needed.
5. Dish Soap and Warm Water
Mix up a heavy-duty degreaser by combining 1 tablespoon dish soap with 2 cups warm water. Using a soft sponge or cloth, wipe down all cabinet interior and exterior surfaces, allowing the soapy solution time to penetrate and dissolve greasy buildup. The dish soap cuts through layers of oily grime that other cleaners may miss. You may need to scrub a bit and reapply the solution to get the cabinets completely grease-free. Rinse thoroughly.
6. Microfiber Cloth
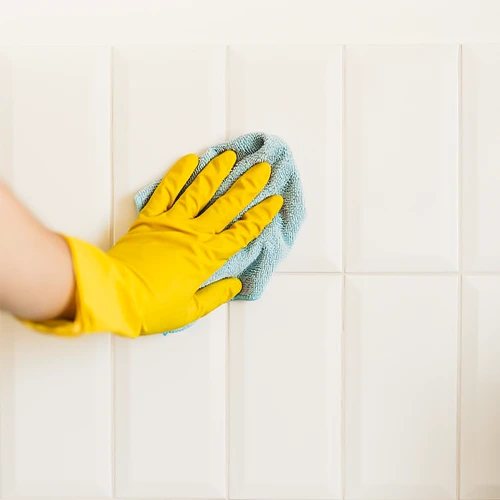
Dampen a microfiber cloth with hot water and wring it out well. Use it to wipe down cabinet surfaces, rinsing and re-wetting frequently. The microfiber grabs and lifts away dirt, dust, and other particles without scratching even delicate wood or painted finishes. For best results, use a back-and-forth motion and fold to a clean area of the cloth often. Hot water adds extra grime-dissolving power.
7. Olive Oil and Lemon
To clean and polish wood cabinet surfaces naturally, mix 2 tablespoons olive oil and 1 tablespoon lemon juice in a small bowl. Apply the solution to wood cabinets using a soft cloth and rub in circular motions. The oil conditions and nourishes the natural wood, while the acidity in the lemon juice helps lift dirt and restore shine. Buff dry with a clean towel to prevent streaks. Avoid getting this solution on non-wood surfaces.
8. Vinegar for Glass Doors
For cleaning glass cabinet doors or other glass inserts, mix equal parts white vinegar and warm water in a spray bottle. Mist the solution onto glass and use a balled-up newspaper or microfiber to scrub the surface. Rinse and dry with a lint-free towel. The vinegar cuts through greasy film while the newspaper polishes without leaving streaks or lint behind. Avoid using paper towels, which can leave a residue.
9. Remove Grease with Lighter Fluid
If you have sticky petroleum jelly or wax buildup, dab a bit of lighter fluid or rubbing alcohol onto a soft cloth. Test on a small inconspicuous spot first to ensure it doesn’t damage the finish. If it’s safe, rub into affected areas to dissolve the gumminess, rinsing with a damp cloth afterward. Allow surfaces to fully dry before closing cabinets. Use mineral spirits instead for tougher wax or petroleum residue.
10. Mineral Spirits for Stickers
To remove paint splatters or sticky sticker adhesive, gently rub the affected areas with a soft cloth dampened in mineral spirits. It will slowly break down the paint and sticker residue. Take care not to oversaturate the area, and test on an inconspicuous spot first to ensure the mineral spirits don’t damage the finish.
11. Stale Bread to Remove Dust
For a completely non-toxic way to clean off light dust and dirt, simply rub the outside of a stale bread slice over your cabinets. The soft bread will collect and grab onto particles, cleaning the cabinets through abrasion but not scratching them. You can use the heel of the loaf and discard it when done. It leaves behind no chemical residue.
12. Flour, Baking Soda, Water Paste
Make a heavy-duty cleaning paste with 1 cup flour, 1 teaspoon baking soda, and 1/4 cup water. Adjust consistency as needed. Apply the thick paste to cabinets and allow to sit for 30 minutes, or until nearly dry. Then scrub with a soft brush or cloth to lift off grime, grease, and other stubborn buildup. The flour abrades while the baking soda deodorizes. Rinse cabinets thoroughly after scrubbing to remove all paste residue.
13. Cream of Tartar and Lemon Juice
For removing greasy buildup, make a solution of 2 parts cream of tartar mixed with 1 part lemon juice. Cream of tartar is a mild abrasive while lemon juice cuts through grease. Dip a soft cloth into the mixture and scrub down cabinets, allowing the solution time to penetrate the greasy grime before wiping it away. Rinse well afterward. Avoid getting this mixture on unfinished wood.
14. Mouthwash and Water Mix
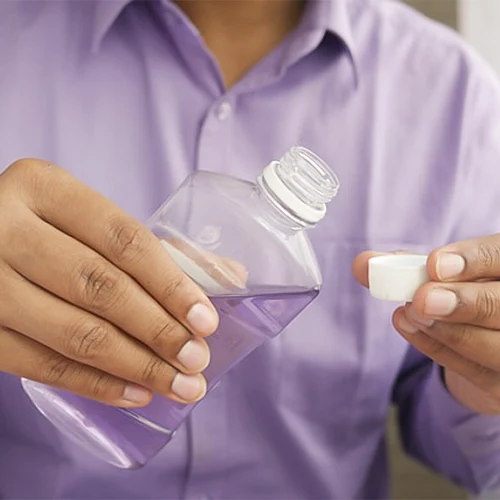
Mix 2 tablespoons antiseptic mouthwash with 2 cups water in a spray bottle for a disinfecting cabinet cleaner. Spray onto exterior and interior cabinet surfaces and wipe clean with a soft cloth. The minty solution will sanitize your cabinets while leaving behind a fresh scent. You can also add a couple of drops of your favorite essential oil.
15. Magic Eraser for Scuffs
Use a Mr. Clean Magic Eraser very gently on cabinets to remove scuffs, marks, and other stubborn grime. The melamine foam abrades away the top layer, making sure to avoid rubbing too hard or you could damage the finish. Rinse cabinets after to remove eraser dust. Limit magic eraser use to stubborn stains.
16. Frequently Dust with Microfiber
Make a habit of dusting cabinets frequently with a microfiber cloth. Quick regular dusting prevents dirt and grime buildup that makes deep cleaning harder. Use a soft brush attachment to vacuum dust from the tops of cabinets and ceiling above as well. Prevent grease splatters by cleaning stove hood filters often.
17. Vacuum Crevices
Attach the crevice tool to your vacuum hose and insert it into cabinet gaps and openings. Remove crumbs, dust, pet hair, and other debris that fall between cabinets or get pushed to the back. Remove drawers and shelves first to access the entire interior. You’ll be amazed at how much gets pushed back there!
18. Clean Cabinet Interiors First
Before adding shelf or drawer liners, thoroughly clean the cabinet interiors they will adhere to. Liners can cover up existing stains and spills, which is not ideal. Use a strong degreasing solution and scrub brush to clean sidewalls, doors, drawers, and shelves. Let dry fully before applying liners.
19. Cotton Swabs and Rubbing Alcohol
Dip cotton swabs or small paint brushes in rubbing alcohol to precisely clean around cabinet hardware, beading, splines, handles, and knobs. The alcohol will cut through oils, grime, and soap buildup in the small crevices that are tough to reach with a cloth. It evaporates quickly, speeding the cleaning process.
20. Microfiber Cloth for Shine
For streak-free shine, run a lightly damp microfiber cloth over exterior cabinet surfaces after cleaning. The tightly woven microfiber grabs water droplets and polishes as it dries without leaving spots. Use a back-and-forth rubbing motion followed by light buffing to bring out the natural shine.
21. Vinegar for Glass Inserts
For glass cabinet inserts, doors, and shelves, mix undiluted white vinegar in a spray bottle with a drop of dish soap. Generously spray the mixture onto glass surfaces and allow it to soak briefly. Use newspaper or lint-free towels to scrub and wipe away, rinsing afterward. Vinegar dissolves soapy film, hard water deposits, and other grime on glass.
22. Eucalyptus Oil for Sticky Residue
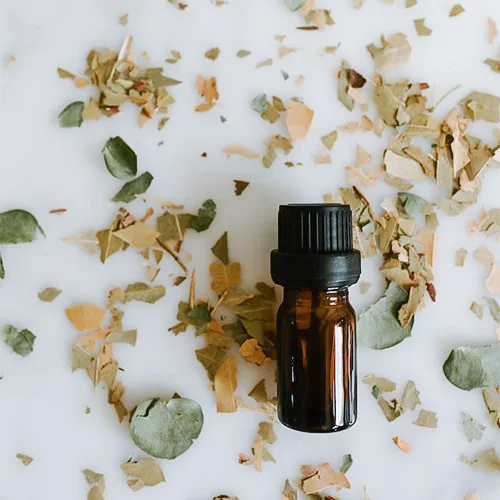
Keep a bottle of eucalyptus oil handy for removing sticky adhesives and gum. Simply dip a soft cloth into the oil and gently rub it onto the sticky spots. Allow to soak briefly before wiping away. The oil naturally dissolves the gumminess without damaging most cabinet finishes.
23. Lemon Juice for Fresh Scent
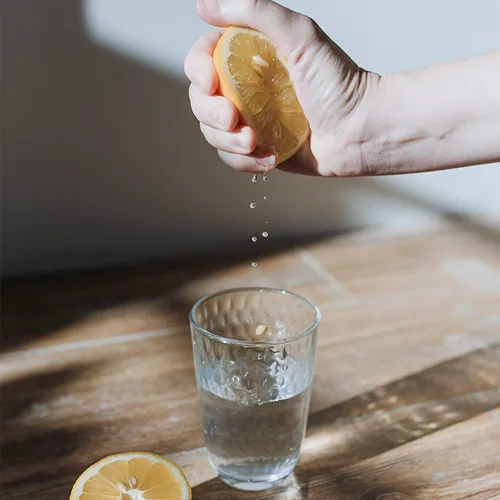
Brighten dingy cabinets and leave a fresh lemony scent by mixing equal parts lemon juice and water into a spray bottle. Liberally mist the solution onto cabinet surfaces and doors. Use a soft cloth to gently scrub and wipe away dirt and grime. The acidity in the lemon brightens wood while cutting grease and bad smells.
24. Baking Soda to Absorb Odors
Before vacuuming inside cabinets, sprinkle baking soda generously onto all interior surfaces. Leave for several hours or overnight, then vacuum up. The baking soda will absorb odors from spills and food storage while naturally freshening and neutralizing smells. Repeat monthly.
25. Toothbrush and Baking Soda
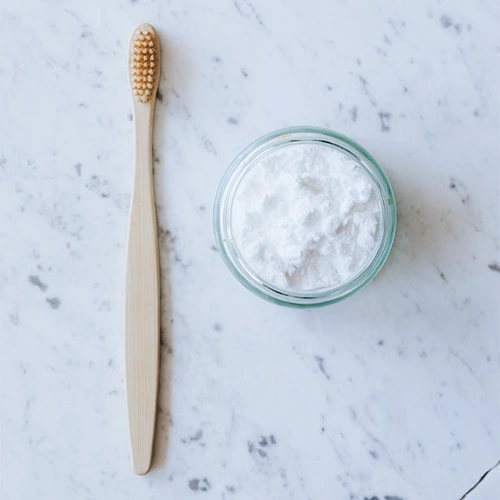
Those stubborn spots in back corners and crevices can be scrubbed away with an old toothbrush and baking soda paste. The angled brush allows you to scour tight areas. Baking soda is a mild abrasive that cleans without scratching. Rinse thoroughly afterward.
26. Olive Oil and Lemon on Wood
Rejuvenate wood cabinets by mixing equal parts olive oil and lemon juice. Dip a soft cloth into the mixture and rub it onto wood cabinet surfaces using circular motions. This nourishes and conditions wood while lifting dirt and grime. The lemon juice neutralizes odors and brightens the natural wood tone.
27. Dust Ceiling Tops
Use a microfiber duster on an extendable pole to dust the tops of tall cabinets and the ceiling above at least monthly. This prevents grease and dirt buildup that becomes nearly impossible to remove if left too long. Get those spots few see but gradually darken and yellow the cabinets.
28. Use Cabinet Door Bumpers
Install self-adhesive cabinet door and drawer bumpers to prevent banging, nicking, and denting while opening. Choose clear bumpers to avoid an obvious bumped look. Check bumpers monthly and replace them as needed when they lose stickiness or rip. A few cents of bumpers save costly dings!
29. Weekly Wipe Downs
Get in the habit of quickly wiping down exterior cabinet doors, drawer fronts, faces, and sides weekly using a mild soap and water mix. This regular cleaning prevents the buildup of dried spills, splatters, and grime that become stubborn stains over time. A few minutes weekly saves hours of heavy scrubbing down the road!
Final Thoughts on Kitchen Cabinet Cleaning Hacks
Keeping your kitchen cabinets sparkling clean doesn’t have to be a chore. With this collection of 29 tips, you have a variety of effective options for cleaning all areas of your cabinets using common household ingredients. From a simple weekly wipe down with a microfiber cloth to deep cleaning wood or glass, these hacks make it easy to remove grease, grime, and odors naturally and safely without damaging your cabinets.
The key is establishing a regular gentle cleaning routine to prevent dirt and grease buildup over time. But even if it’s been a while since you thoroughly cleaned your cabinets, these tips will allow you to restore them to a like-new shine.
